
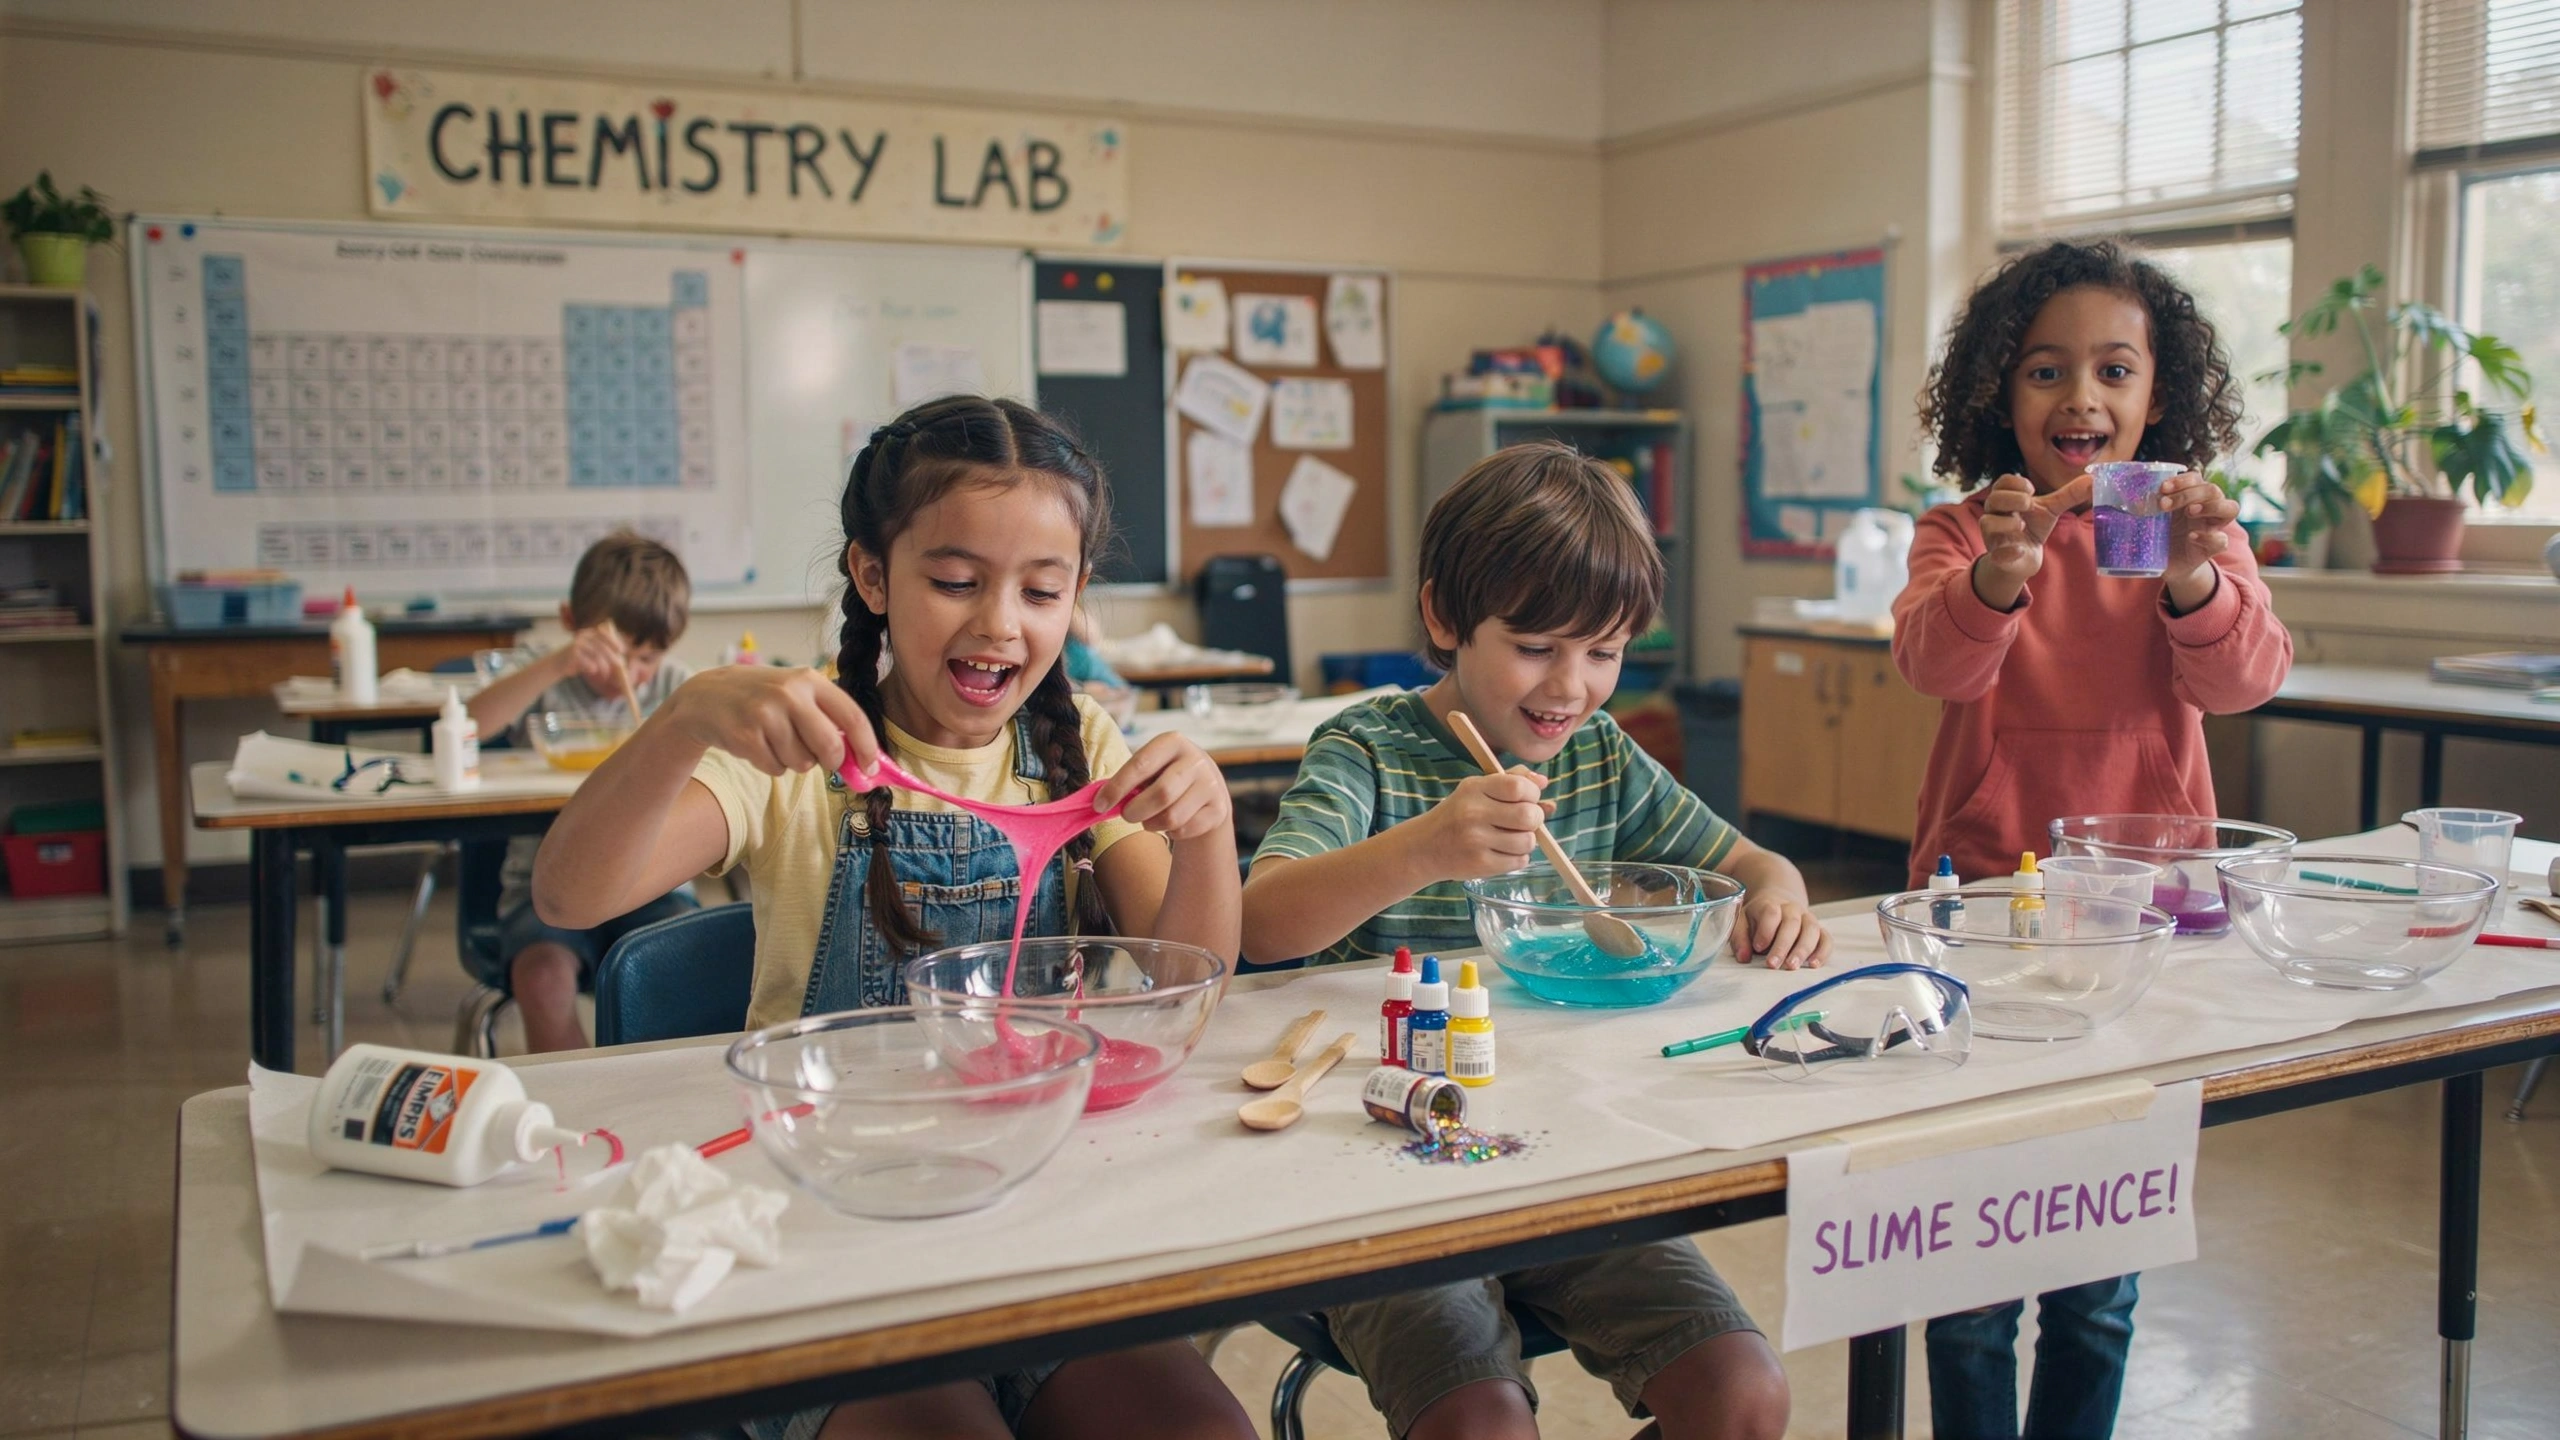
Few science activities are as exciting for children as making homemade slime. Stretchy, squishy, and fun to play with, slime is more than just a popular craft—it’s also an excellent introduction to basic chemistry. By mixing a few simple ingredients, children can observe how substances change, learn about polymers, and practice scientific thinking through hands-on experimentation.
Whether you’re a parent, teacher, or homeschool educator, homemade slime is an engaging STEM activity that combines learning with creative play.
Why Slime Is a Great Science Activity
Making slime allows children to explore chemistry in a safe and enjoyable way. They can observe changes in texture, test different recipes, and learn that science often involves experimenting and improving results.
Benefits include:
- Introducing basic chemistry concepts
- Encouraging observation and prediction
- Developing fine motor skills
- Improving problem-solving abilities
- Supporting creativity and sensory play
- Building confidence through experimentation
Slime-making also teaches children that small changes in ingredients can produce very different results.
Safety First
Before making slime:
- Always supervise young children.
- Use non-toxic, child-safe ingredients.
- Do not eat the slime.
- Wash hands before and after the activity.
- Store slime in an airtight container.
- Keep slime away from carpets and fabrics.
Safety ensures the activity remains fun and educational.
What Is Slime?
Slime is a soft, stretchy material made when certain ingredients combine to form long chains of molecules called polymers.
A polymer is a large molecule made of many smaller units connected together. These long chains allow slime to stretch, bend, and slowly flow without behaving exactly like a liquid or a solid.
This unique behavior makes slime an excellent example of a non-Newtonian material, meaning it behaves differently depending on how it is handled.
Activity 1: Classic Homemade Slime
Materials
- White school glue
- Baking soda
- Contact lens solution (containing boric acid or sodium borate)
- Food coloring (optional)
- Mixing bowl
- Spoon
Instructions
- Pour about ½ cup of white glue into a bowl.
- Add ½ teaspoon of baking soda.
- Mix well.
- Add a few drops of food coloring if desired.
- Slowly add contact lens solution while stirring.
- Continue mixing until the slime forms.
- Knead the slime with your hands until smooth.
Science Behind It
The ingredients react to connect the glue’s polymer chains, creating a stretchy material that is thicker than the original glue.
Activity 2: Glitter Slime
Materials
- Homemade slime
- Fine glitter
- Sequins (optional)
Instructions
- Prepare classic slime.
- Mix in glitter.
- Stretch and observe how the glitter moves.
Science Behind It
The glitter becomes trapped within the polymer network, allowing children to see how particles move inside the slime.
Activity 3: Glow-in-the-Dark Slime
Materials
- Slime recipe
- Glow-in-the-dark paint or pigment (non-toxic)
Instructions
- Prepare the slime.
- Mix in the glow pigment.
- Charge it under a bright light.
- Observe the glow in a dark room.
Science Behind It
Glow pigments absorb light energy and slowly release it over time, producing a glowing effect.
Activity 4: Stretch Test
Materials
- Homemade slime
- Ruler
Instructions
- Slowly stretch the slime.
- Measure how far it stretches before breaking.
- Compare different slime recipes.
Science Behind It
Different ingredient ratios affect the flexibility and strength of the polymer chains.
Activity 5: Temperature Challenge
Materials
- Homemade slime
- Refrigerator
- Warm room
Instructions
- Place one piece of slime in the refrigerator for 20 minutes.
- Leave another piece at room temperature.
- Compare their textures.
Science Behind It
Temperature changes affect how easily the polymer chains move, changing the slime’s texture.
Activity 6: Slime Bounce Test
Materials
- Homemade slime
- Smooth surface
Instructions
- Roll the slime into a ball.
- Gently bounce it on a smooth surface.
- Observe how it behaves.
Science Behind It
Slime can behave like both a solid and a liquid, depending on the force applied.
Activity 7: Create Your Own Slime Recipe
Challenge
Encourage children to experiment with:
- More glue
- Less baking soda
- Different colors
- Glitter
- Foam beads
Record the results for each version.
Science Behind It
Scientists often change one variable at a time to understand how it affects the outcome of an experiment.
Encourage Scientific Thinking
Ask children:
- What changed when the ingredients were mixed?
- Why does the slime stretch?
- Which recipe worked best?
- How did temperature affect the slime?
- What would happen if we changed one ingredient?
These questions help children think like chemists by observing, predicting, and testing ideas.
Skills Children Develop
Making slime helps children strengthen:
- Observation skills
- Scientific reasoning
- Fine motor coordination
- Creativity
- Problem-solving
- Measuring and mixing skills
- Patience
- Communication
These skills support learning across STEM subjects.
Extend the Learning
Take the experiment further by:
- Comparing different slime recipes.
- Measuring stretch length.
- Recording observations in a science journal.
- Learning about polymers used in everyday products.
- Exploring other non-Newtonian materials such as cornstarch and water.
- Designing colorful slime for a classroom science fair.
These activities deepen children’s understanding of chemistry through playful exploration.
Final Thoughts
Making homemade slime is more than a fun craft—it’s an exciting chemistry lesson that children can see and feel. As they mix ingredients, test textures, and experiment with different recipes, they learn valuable scientific concepts through hands-on discovery.
The joy of slime lies not only in its stretchy texture but also in the questions it inspires. Every experiment encourages curiosity, creativity, and a deeper understanding of how materials change and interact, making science both memorable and enjoyable.