
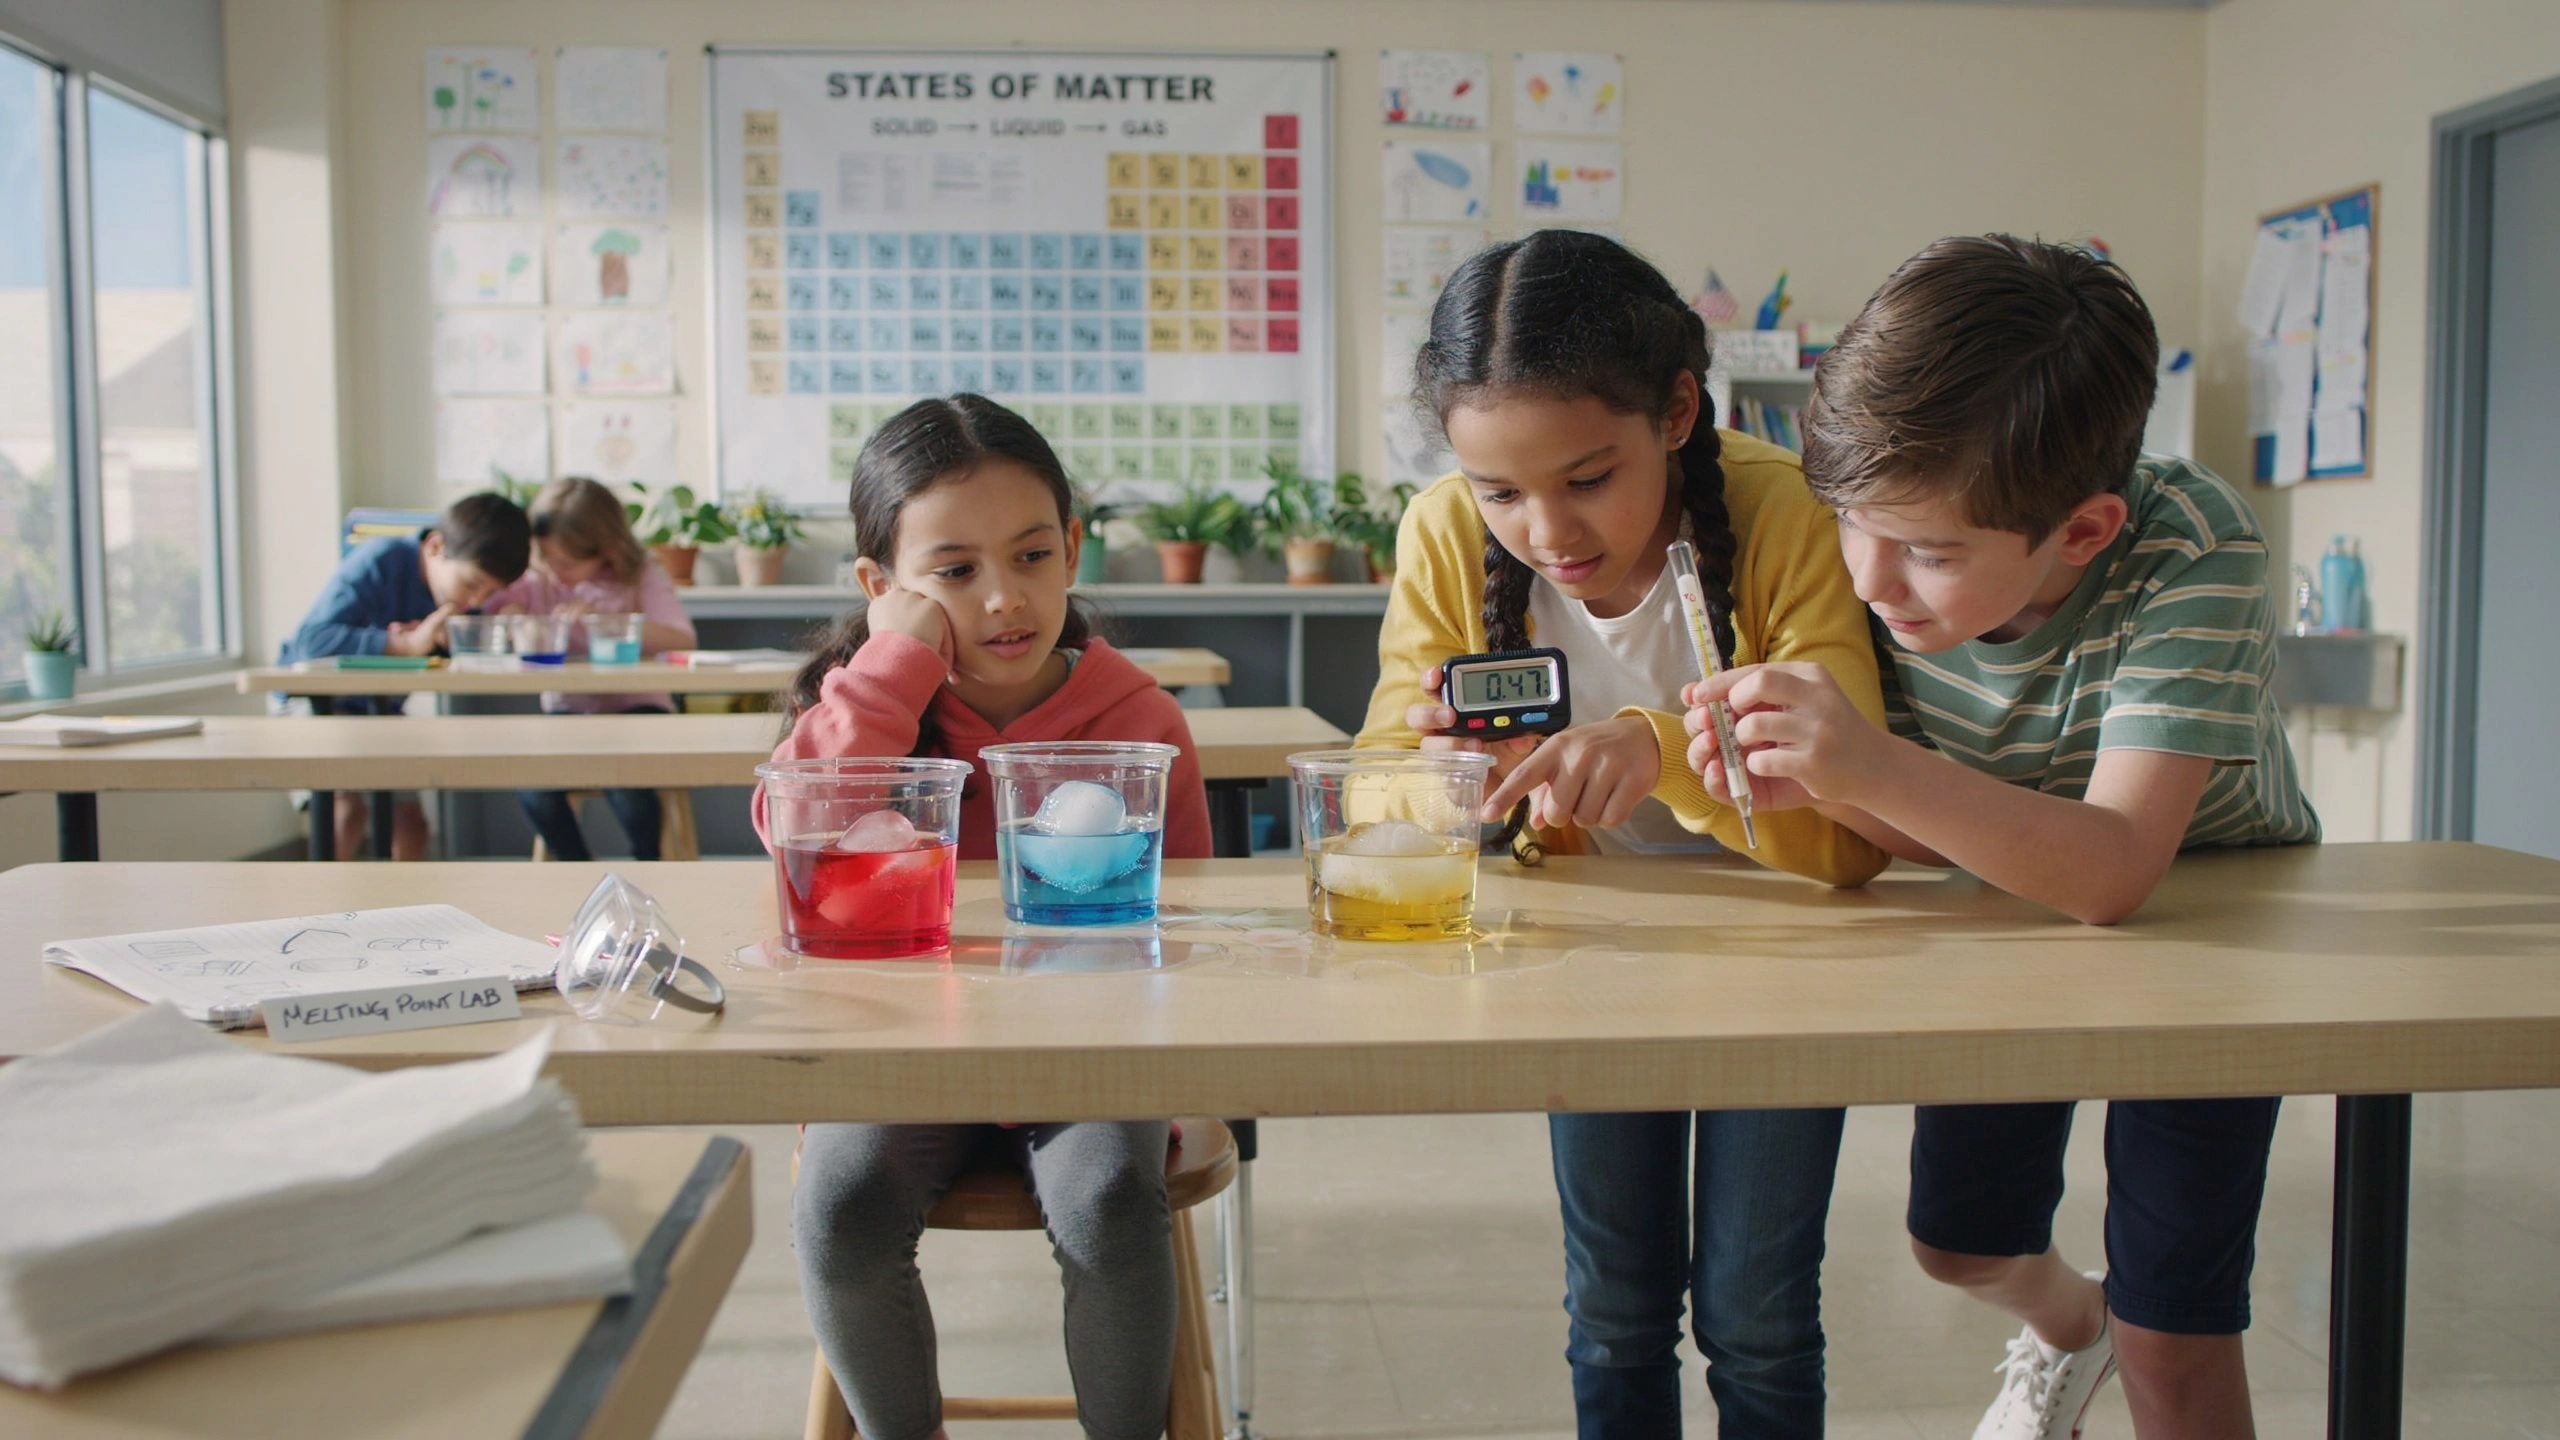
Ice is something children see every day, but it also provides an exciting opportunity to explore important scientific concepts. By observing how ice melts, children can learn about temperature, heat energy, and the three states of matter through simple, hands-on experiments.
These activities require only a few household materials and encourage children to ask questions, make predictions, and think like scientists. Whether at home, in a classroom, or during a STEM lesson, ice melting experiments make science both fun and memorable.
Why Ice Experiments Are Great for Kids
Ice experiments allow children to observe physical changes in real time. They learn that materials can change from one state to another without becoming a different substance.
These activities help children:
- Understand the states of matter
- Explore the effects of heat and cold
- Develop observation skills
- Practice making predictions
- Strengthen critical thinking
- Improve problem-solving abilities
Watching ice melt is simple, but it introduces scientific concepts that children will build on throughout their education.
Safety Tips
Before beginning:
- Supervise young children during the activities.
- Wipe up water spills immediately to prevent slipping.
- Use child-safe tools and containers.
- Avoid using extremely hot water.
- Wash hands after the experiments.
A safe learning environment allows children to focus on discovery.
Understanding the States of Matter
Explain that matter exists in different forms, called states of matter.
The three most common states are:
- Solid: Holds its shape, like an ice cube.
- Liquid: Flows and takes the shape of its container, like water.
- Gas: Spreads out to fill the space around it, like water vapor.
When ice melts, it changes from a solid to a liquid because it absorbs heat from its surroundings.
Activity 1: Which Ice Cube Melts First?
Materials
- Four ice cubes
- Four small plates
- Sunny windowsill
- Shaded area
- Refrigerator
- Warm room
Instructions
- Place one ice cube in each location.
- Predict which one will melt first.
- Observe the cubes every five minutes.
- Record the results.
Science Behind It
Ice melts faster in warmer environments because it absorbs heat energy more quickly.
Activity 2: Salt vs. Sugar
Materials
- Two ice cubes
- Salt
- Sugar
Instructions
- Sprinkle salt on one ice cube.
- Sprinkle sugar on the other.
- Observe which melts faster.
Science Behind It
Salt lowers the freezing point of water, causing ice to melt more quickly than it normally would.
Activity 3: Colorful Ice Painting
Materials
- Colored ice cubes
- White paper
- Tray
Instructions
- Freeze water mixed with food coloring.
- Remove the colored ice cubes.
- Slide them across white paper.
- Create colorful artwork while the ice melts.
Science Behind It
As the ice melts, liquid water carries the color across the paper, demonstrating the change from solid to liquid.
Activity 4: Ice Rescue Challenge
Materials
- Small waterproof toys
- Ice cube tray
- Water
- Warm water
- Salt
- Spoon
Instructions
- Freeze small toys inside ice cubes.
- Challenge children to free the toys.
- Experiment using warm water or salt.
Science Behind It
Different methods transfer heat to the ice at different rates, affecting how quickly it melts.
Activity 5: Floating Ice Experiment
Materials
- Bowl of water
- Ice cubes
Instructions
- Place ice cubes in water.
- Observe how much of each cube stays above the surface.
- Watch the cubes melt.
Science Behind It
Ice is less dense than liquid water, allowing it to float while it slowly melts.
Activity 6: Build an Ice Tower
Materials
- Ice cubes
- Tray
- Salt
Instructions
- Stack ice cubes into a tower.
- Sprinkle a tiny amount of salt where two cubes touch.
- Hold them together for a few seconds.
- Continue building.
Science Behind It
Salt briefly melts the surface of the ice. As the water refreezes, the cubes stick together.
Activity 7: Measure Melting Time
Materials
- Ice cubes
- Stopwatch or timer
- Notebook
Instructions
- Place an ice cube on a plate.
- Start the timer.
- Record how long it takes to melt.
- Repeat under different conditions.
Science Behind It
Scientists measure and compare results to understand how changing one variable affects an experiment.
Encourage Scientific Thinking
Ask children:
- Which ice cube melted the fastest?
- Why did salt change the melting speed?
- What happened to the ice as it melted?
- How could we slow down the melting process?
- What would happen if we used larger ice cubes?
These questions help children connect observations with scientific explanations.
Skills Children Develop
Ice melting activities strengthen:
- Observation skills
- Scientific reasoning
- Measurement
- Prediction
- Data recording
- Problem-solving
- Patience
- Critical thinking
These skills build a strong foundation for future STEM learning.
Extend the Learning
Expand the experiments by:
- Freezing different shapes and sizes of ice cubes.
- Measuring temperatures with a thermometer.
- Comparing indoor and outdoor melting times.
- Exploring how animals survive in icy environments.
- Learning about glaciers and polar ice caps.
- Creating a graph of melting times.
These extension activities help children connect simple experiments with real-world science.
Real-World Connections
Ice plays an important role in nature and everyday life. Discuss examples such as:
- Ice cubes cooling drinks
- Snow and ice during winter
- Glaciers storing fresh water
- Sea ice providing habitats for Arctic animals
- Ice packs used to reduce swelling after injuries
Connecting experiments to everyday experiences helps children understand the practical importance of science.
Final Thoughts
Ice melting experiments provide a simple yet powerful introduction to temperature, heat energy, and the states of matter. By observing, measuring, and experimenting, children discover that even an ordinary ice cube can teach extraordinary scientific lessons.
Every melting cube encourages children to ask questions, make predictions, and explore how the world changes around them. Through these fun activities, young learners develop curiosity, confidence, and a lifelong interest in science.