
Introduction
Before children begin writing letters and words, they need to develop strong finger muscles, accurate hand movements, and a steady pencil grip. Creative art activities are an excellent way to build these skills while making learning fun. One simple yet highly effective activity is the Q-Tip Dot Painting Activity.
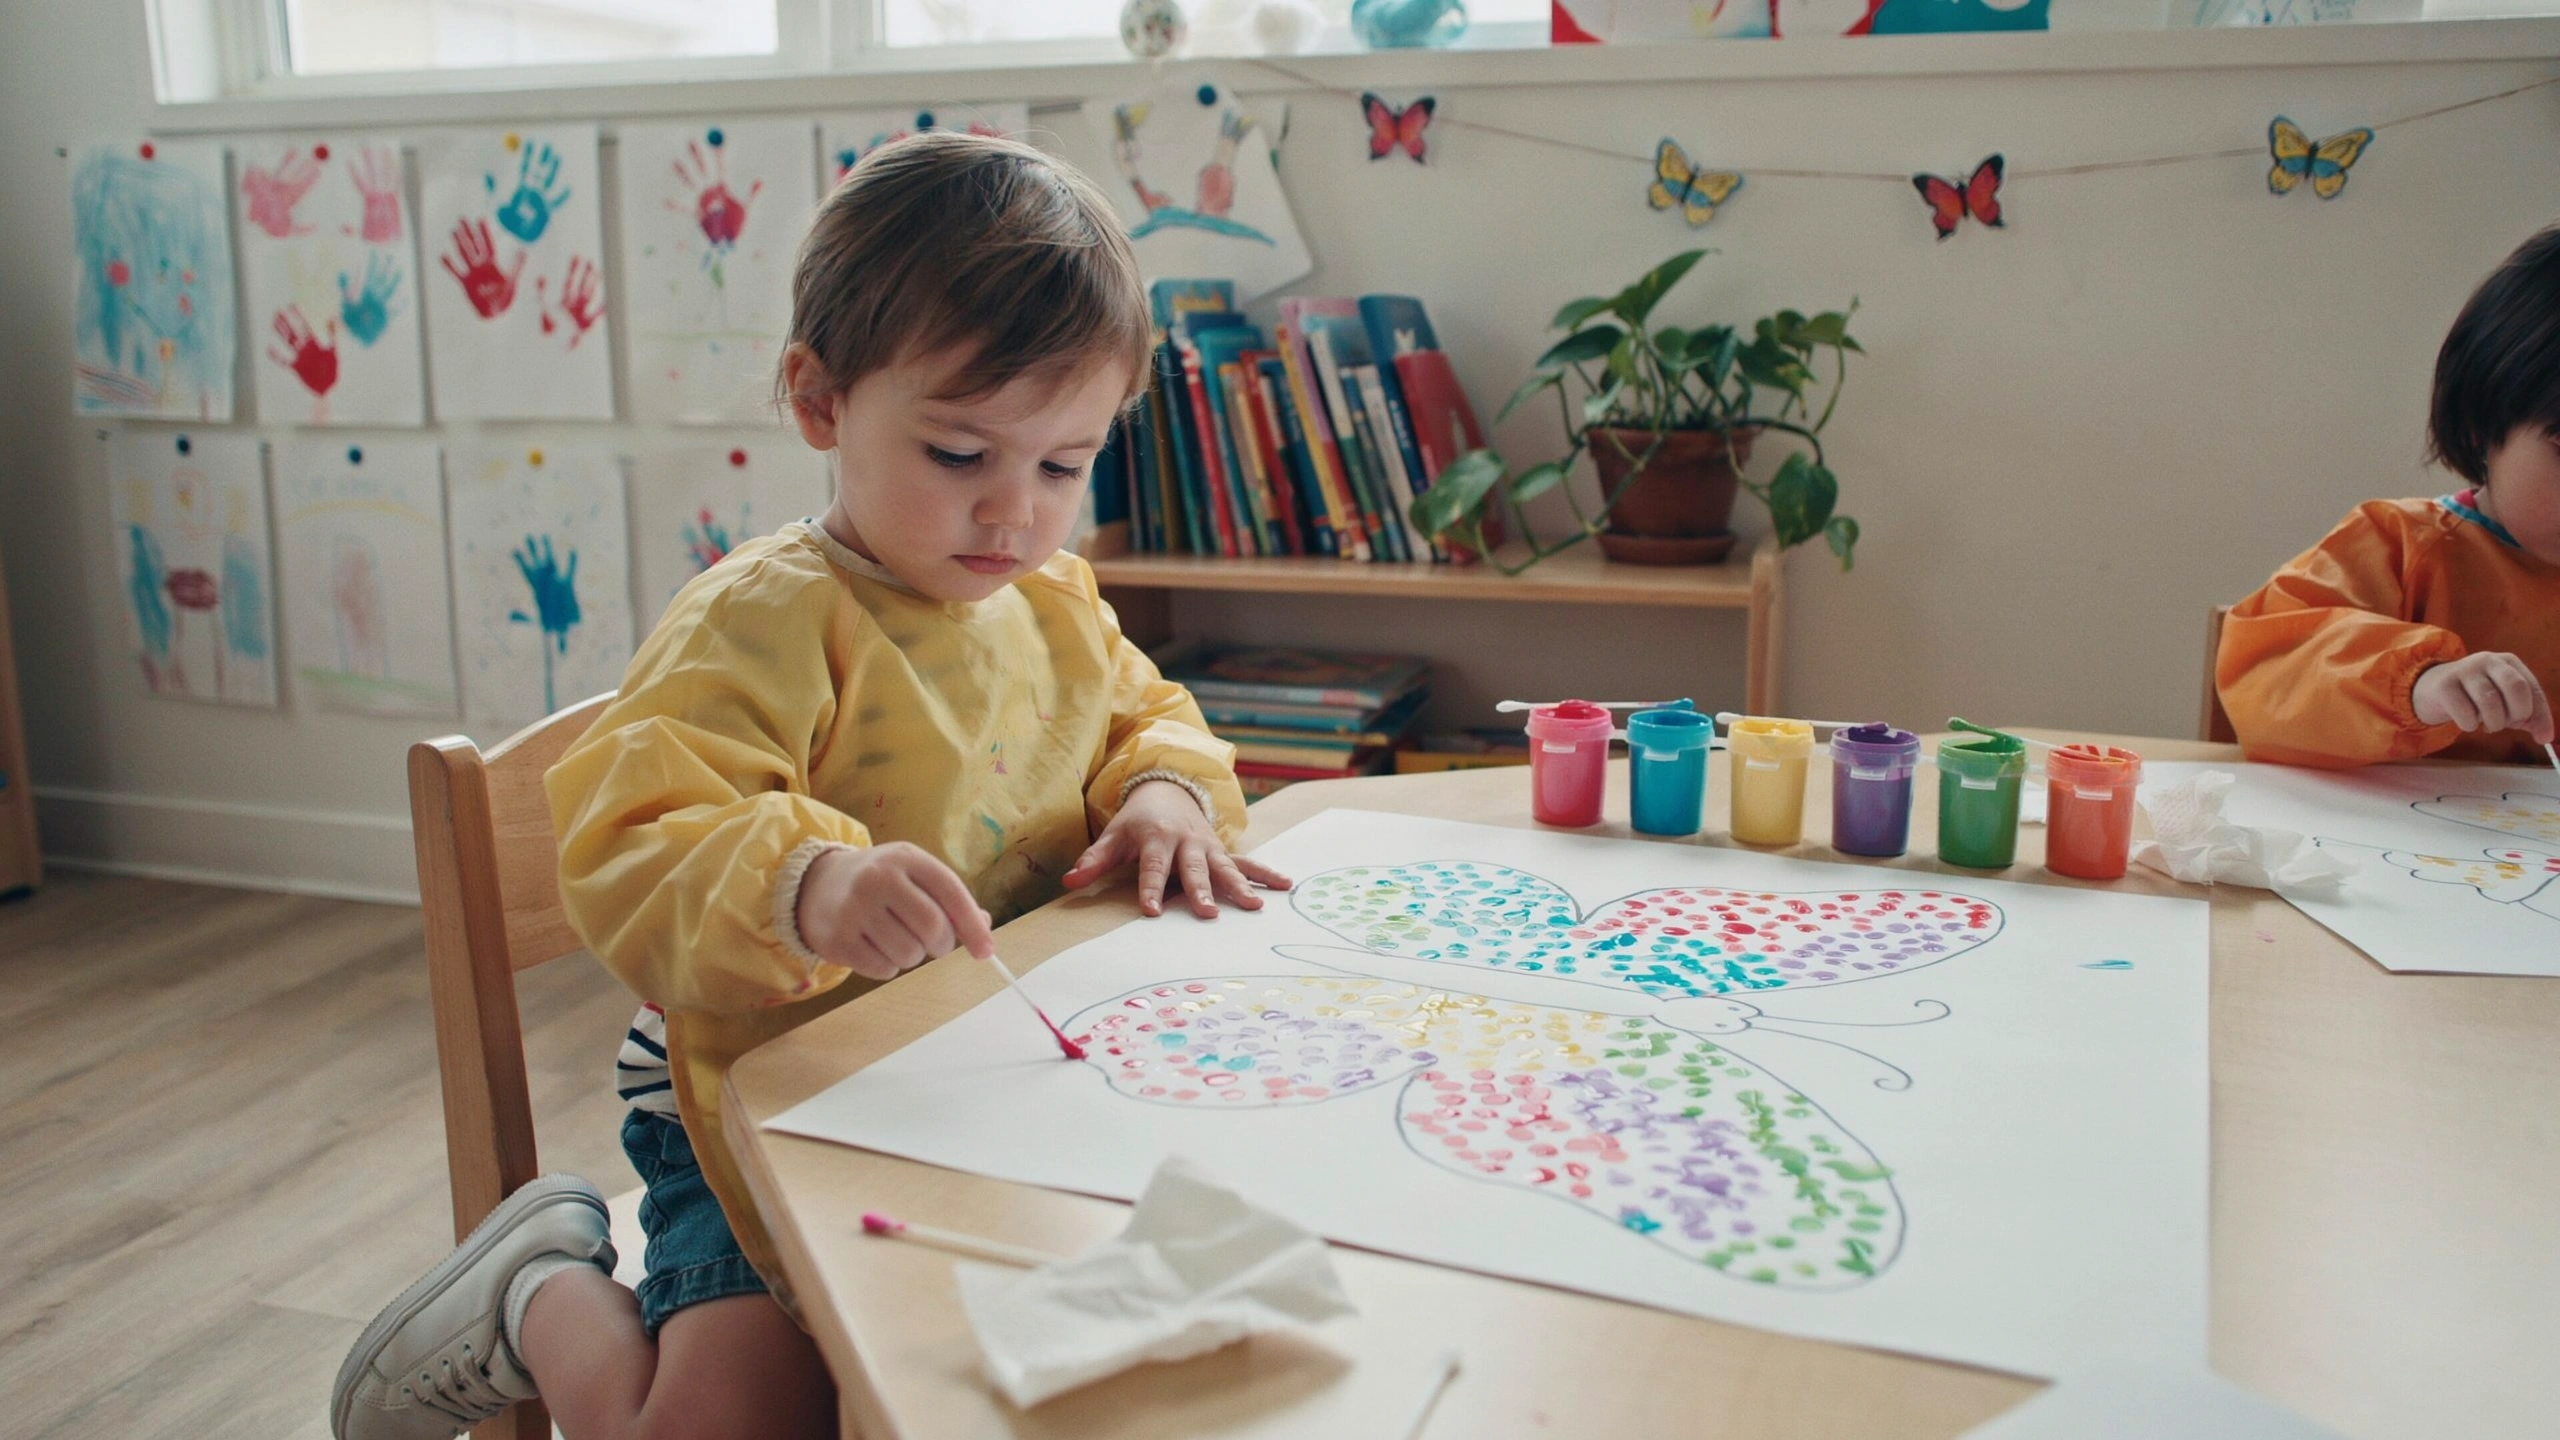
Using cotton swabs (Q-tips) and washable paint, children create colorful pictures by making small dots instead of using paintbrushes. This enjoyable process strengthens fine motor muscles, improves hand-eye coordination, and encourages precise finger control—all essential skills for handwriting readiness.
Whether used at home, in preschool, kindergarten, or a homeschool setting, this activity transforms painting into an exciting pre-writing exercise.
Why Dot Painting Supports Pre-Writing Skills
Unlike traditional painting, dot painting requires children to use controlled, repeated finger movements. Holding a Q-tip is similar to holding a pencil, making this activity an excellent way to prepare little hands for writing.
Regular dot painting helps children:
- Strengthen finger and hand muscles.
- Develop a proper pencil grip.
- Improve hand-eye coordination.
- Increase precision and control.
- Practice patience and concentration.
- Build confidence through creative expression.
The repetitive motion also helps children develop muscle memory that supports future handwriting.
Materials You’ll Need
Prepare these simple materials before starting:
- Cotton swabs (Q-tips)
- Washable tempera or finger paint
- Paper or printable dot painting worksheets
- Paper plates or paint trays
- Apron or old shirt
- Wet wipes or paper towels for cleanup
You can use different paint colors to make each activity bright and engaging.
How to Play
- Pour small amounts of paint onto a tray or paper plate.
- Give your child a clean Q-tip.
- Demonstrate how to dip the tip lightly into the paint.
- Press the Q-tip gently onto the paper to create dots.
- Continue adding dots to complete a picture, letter, number, or pattern.
- Allow the artwork to dry before displaying it.
Encourage children to hold the Q-tip using a tripod grip whenever possible.
Skills Children Develop
The Q-Tip Dot Painting Activity strengthens a variety of important pre-writing skills.
Pencil Grip Preparation
Holding a Q-tip encourages children to use the same finger position needed for holding a pencil correctly.
Fine Motor Strength
Making repeated dots strengthens the small muscles in the fingers, hands, and wrists.
Precision and Control
Children learn to place each dot carefully, improving movement accuracy.
Hand-Eye Coordination
Watching where each dot lands helps children coordinate vision with hand movements.
Focus and Patience
Completing detailed pictures encourages sustained attention and careful work.
Creative Dot Painting Ideas
Keep children engaged with different themed activities.
Alphabet Dot Art
Print large letters and let children fill each one with colorful dots.
Number Painting
Decorate numbers using dots while counting aloud.
Animal Pictures
Create butterflies, ladybugs, fish, owls, or turtles using colorful paint dots.
Seasonal Crafts
Paint pumpkins in autumn, snowflakes in winter, flowers in spring, or suns in summer.
Rainbow Challenge
Encourage children to paint pictures using every color of the rainbow.
Tips for Parents and Teachers
Make the activity successful with these simple suggestions:
- Use washable, non-toxic paint.
- Start with large pictures before introducing smaller designs.
- Demonstrate the correct grip before beginning.
- Encourage slow, careful movements.
- Praise creativity and effort instead of perfection.
- Protect work surfaces with newspaper or a plastic tablecloth.
Keeping the activity relaxed helps children enjoy the learning process.
Extending the Learning Experience
Expand the activity by adding educational challenges.
Invite children to:
- Spell simple words with dot-painted letters.
- Create repeating color patterns.
- Count the number of dots used in each picture.
- Match colors to objects.
- Decorate geometric shapes.
- Design greeting cards or classroom displays.
These activities combine literacy, math, and creativity with fine motor practice.
Benefits Beyond Pre-Writing
The Q-Tip Dot Painting Activity supports many additional developmental skills, including:
- Creativity
- Color recognition
- Visual discrimination
- Problem-solving
- Artistic confidence
- Independent learning
- Sensory exploration
Children enjoy experimenting with colors while naturally strengthening the skills needed for handwriting.
Safety Tips
To keep the activity safe and enjoyable:
- Always use non-toxic, washable paint.
- Supervise young children during painting.
- Remind children not to place Q-tips in their mouths.
- Wash hands thoroughly after the activity.
- Store paints and supplies safely when finished.
A clean and organized workspace encourages children to focus on creating.
Conclusion
The Q-Tip Dot Painting Activity is a colorful and effective way to prepare children for handwriting. By creating pictures with small, controlled dots, children strengthen their pencil grip, improve fine motor control, and develop the precision needed for writing.
With only a few inexpensive materials, parents and teachers can turn a simple art project into a valuable learning experience. Through regular practice, children build confidence, coordination, and the strong hand muscles that form the foundation for successful writing.