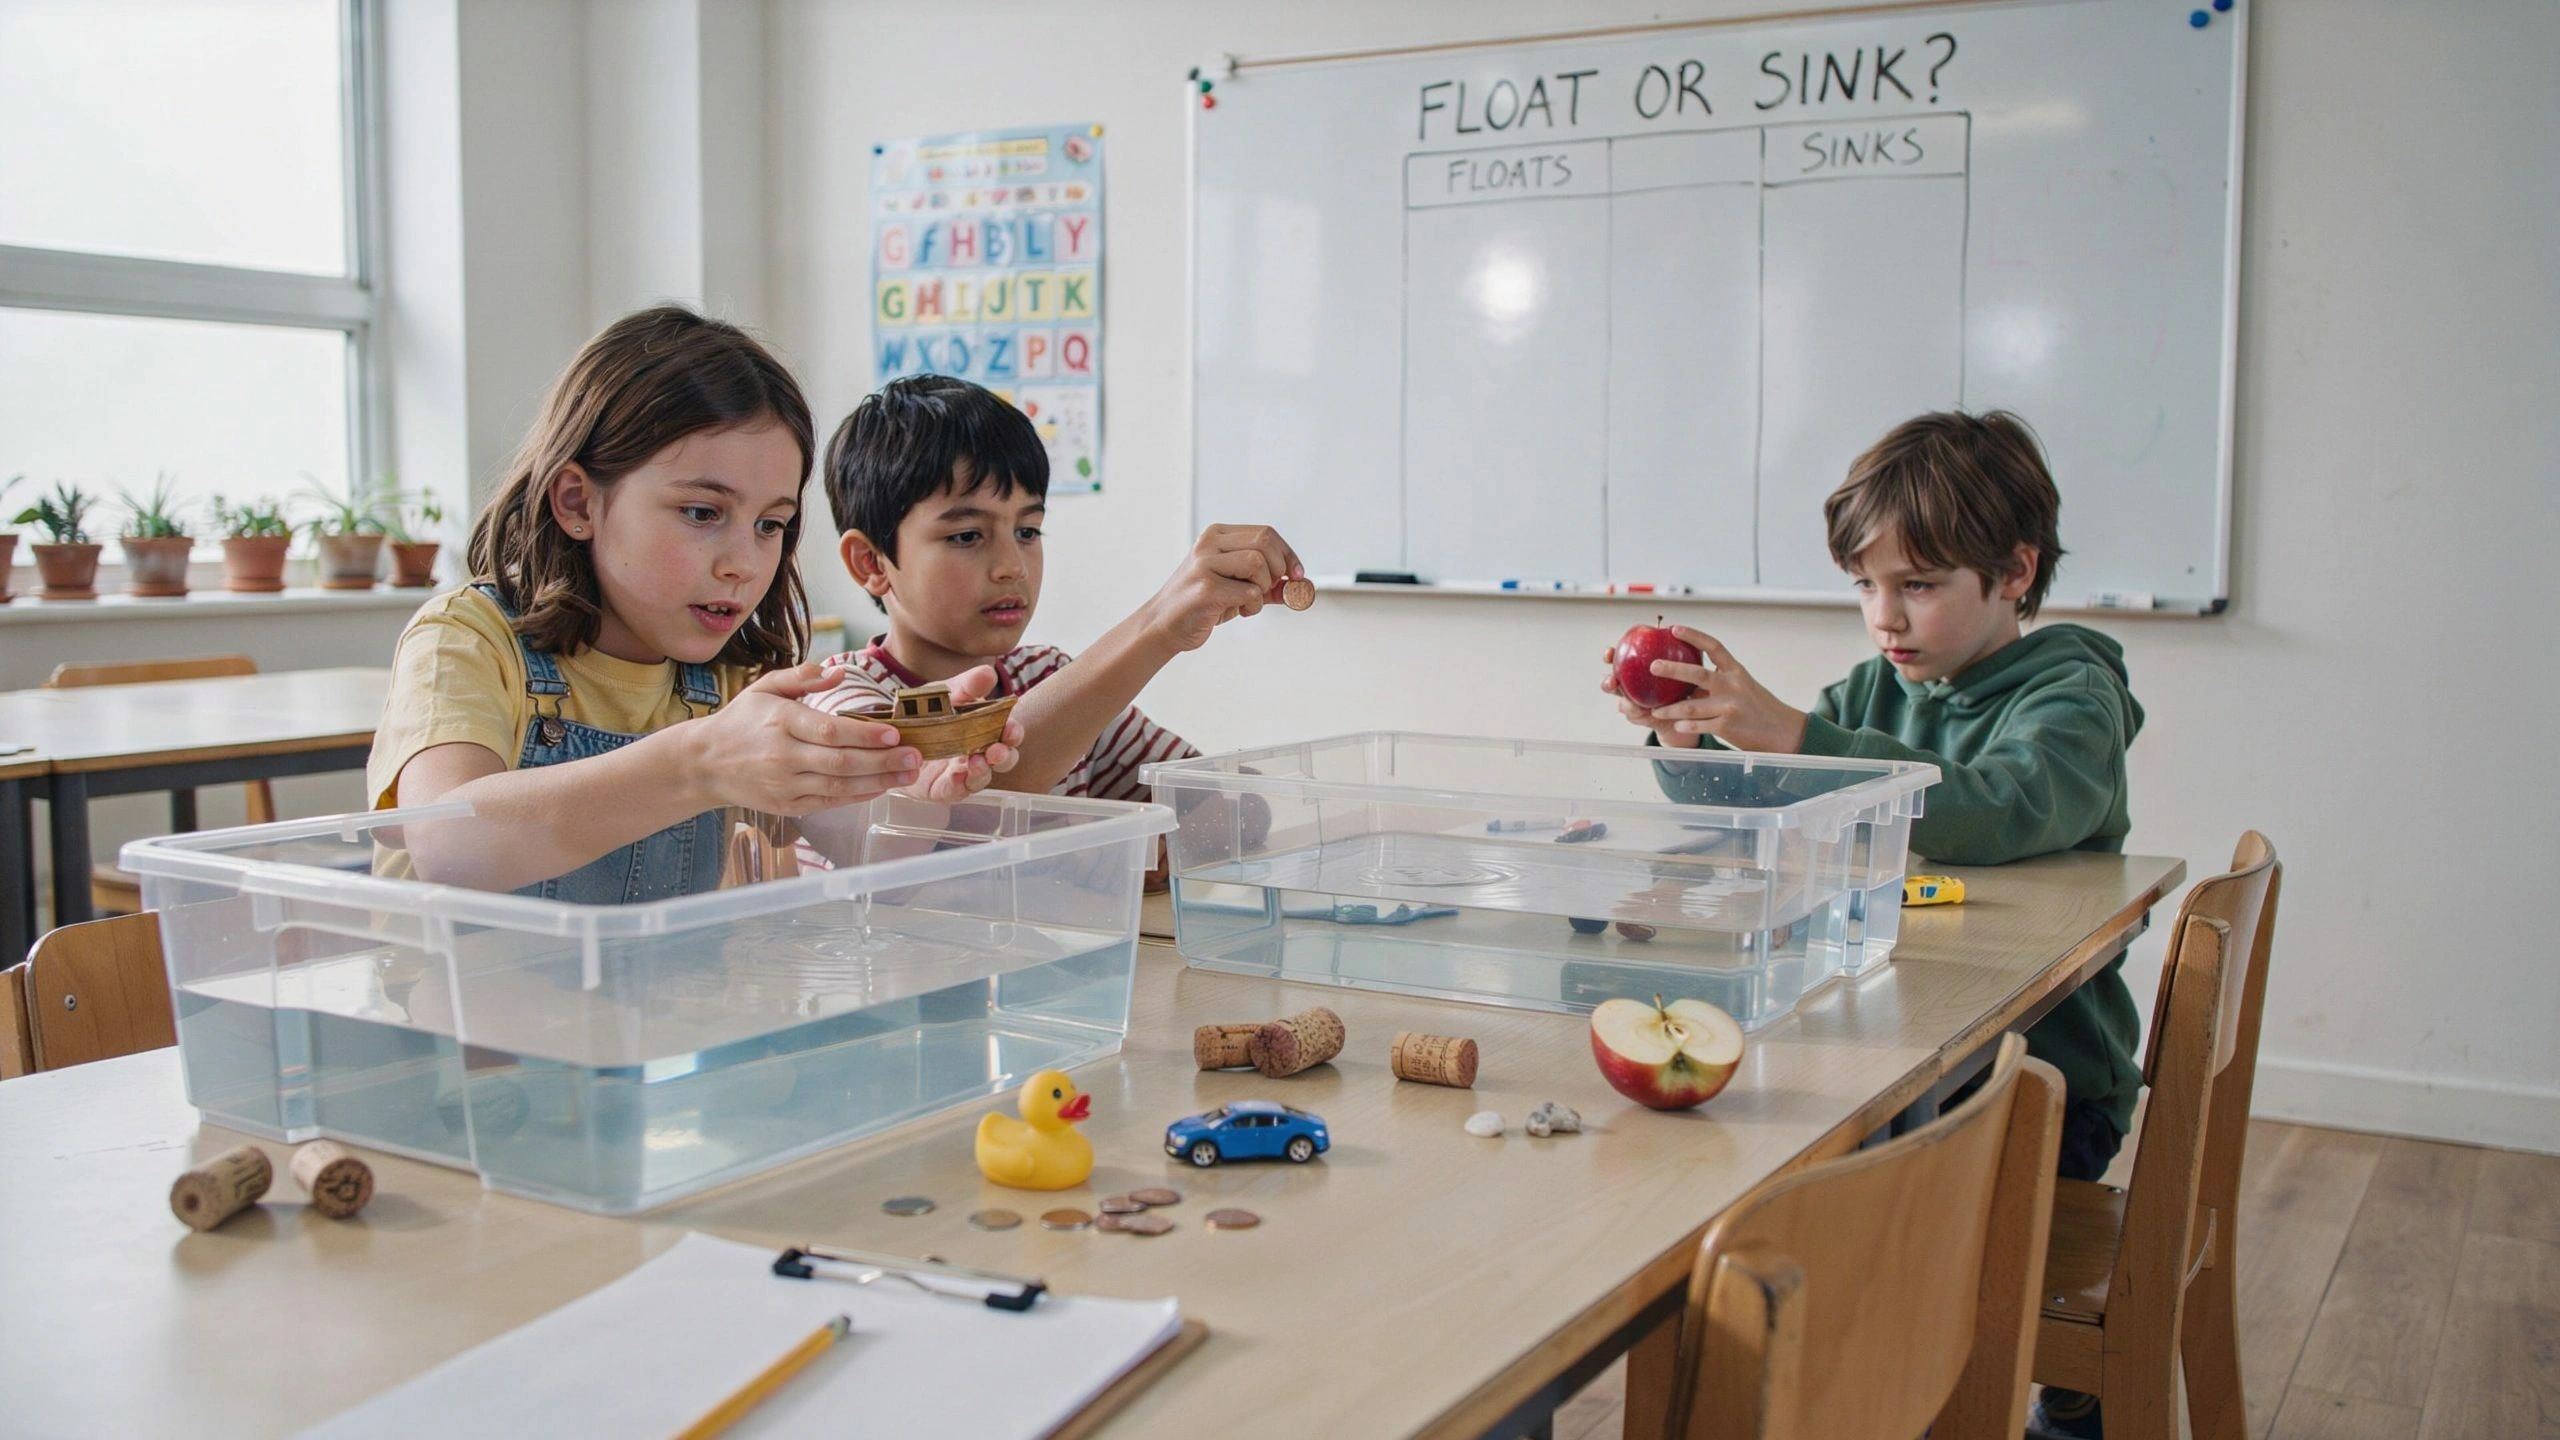
Why does a heavy ship float while a small stone sinks? Why do some objects stay on the surface of the water while others quickly fall to the bottom? These questions spark children’s curiosity and provide the perfect opportunity to explore the fascinating science of buoyancy and density.
Floating and sinking experiments are simple, inexpensive, and enjoyable for children of all ages. Using everyday household items, young learners can make predictions, test ideas, and discover important scientific principles through hands-on exploration.
Why Floating and Sinking Activities Are Important
Water experiments encourage children to think like scientists. Instead of memorizing facts, they learn by observing, testing, and drawing conclusions.
These activities help children:
- Develop observation skills
- Learn about density and buoyancy
- Improve critical thinking
- Practice making predictions
- Strengthen problem-solving abilities
- Build confidence through experimentation
These experiments also introduce basic physics concepts in an engaging and age-appropriate way.
Safety Tips
Before starting:
- Always supervise young children around water.
- Use a large plastic container or basin instead of a deep bucket.
- Dry wet floors immediately to prevent slipping.
- Use child-safe household objects.
- Wash hands after completing the activities.
Understanding Floating and Sinking
Before beginning the experiments, explain the basic idea.
An object floats if it is less dense than water or if its shape allows it to displace enough water to support its weight. If an object is denser than water and cannot displace enough water, it sinks.
Encourage children to make predictions before testing each object.
Activity 1: Guess Before You Drop
Materials
- Large bowl of water
- Spoon
- Plastic bottle cap
- Coin
- Cork
- Small toy
- Leaf
- Marble
Instructions
- Show each object to the children.
- Ask them whether they think it will float or sink.
- Record their predictions.
- Place each object into the water.
- Compare the predictions with the results.
Science Behind It
Scientists often begin investigations by making predictions and then testing their ideas through experiments.
Activity 2: Build a Floating Boat
Materials
- Aluminum foil
- Basin of water
- Coins or marbles
Instructions
- Shape the aluminum foil into a small boat.
- Place it in the water.
- Slowly add coins one at a time.
- Count how many coins the boat holds before sinking.
Science Behind It
The boat floats because its shape spreads its weight over a larger area, allowing it to displace enough water.
Activity 3: Fresh Water vs. Salt Water
Materials
- Two clear containers
- Water
- Salt
- Egg
- Spoon
Instructions
- Fill both containers with water.
- Add several tablespoons of salt to one container.
- Stir until the salt dissolves.
- Place an egg into each container.
What Happens?
The egg sinks in fresh water but floats in salt water.
Science Behind It
Salt increases the density of the water, making it easier for the egg to float.
Activity 4: Floating Fruit Challenge
Materials
- Apple
- Orange
- Banana
- Grapes
- Bowl of water
Instructions
- Predict which fruits will float.
- Test each fruit.
- Peel the orange and test it again.
Science Behind It
The orange peel contains tiny air pockets that help the fruit float. Without the peel, the orange often sinks.
Activity 5: Clay Boat Experiment
Materials
- Modeling clay
- Water container
Instructions
- Roll the clay into a solid ball and place it in the water.
- Remove the clay and reshape it into a boat.
- Place it back into the water.
What Happens?
The clay ball sinks, but the clay boat floats.
Science Behind It
Changing the shape increases the amount of water displaced, allowing the clay boat to float.
Activity 6: Sink or Float Sorting Game
Materials
- Collection of household objects
- Two baskets labeled “Float” and “Sink”
Instructions
- Predict where each object belongs.
- Test it in water.
- Sort the objects into the correct basket.
Science Behind It
Children practice classifying objects while learning about material properties.
Activity 7: Design Your Own Floating Object
Materials
- Recycled materials
- Tape
- Plastic container of water
Instructions
- Build a small floating object using recycled materials.
- Test whether it floats.
- Improve the design if needed.
- Compare different designs.
Science Behind It
Engineers often redesign their ideas after testing. This activity introduces the engineering design process.
Encourage Scientific Thinking
Ask children:
- Why did this object float?
- What surprised you?
- How could we make a sinking object float?
- Does size always determine whether something floats?
- What would happen if we changed the shape?
These questions encourage reasoning and experimentation.
Skills Children Develop
Floating and sinking activities strengthen:
- Observation skills
- Prediction abilities
- Scientific inquiry
- Problem-solving
- Classification
- Engineering thinking
- Fine motor coordination
- Communication skills
These abilities prepare children for more advanced STEM learning.
Extend the Learning
Take the experiments further by:
- Testing objects made from different materials.
- Measuring how much weight homemade boats can carry.
- Comparing floating objects in fresh and salt water.
- Designing boats inspired by real ships.
- Researching how submarines dive and surface.
- Keeping a science journal with predictions and results.
These extension activities help children connect classroom experiments to real-world engineering and physics.
Final Thoughts
Floating and sinking experiments are a fun and effective way to introduce children to important scientific concepts. With simple household materials, young learners can explore density, buoyancy, and engineering while enjoying hands-on discovery.
Every splash, prediction, and experiment encourages children to observe, question, and investigate the world around them. By turning everyday objects into science tools, parents and educators can inspire curiosity and build a strong foundation for lifelong learning.